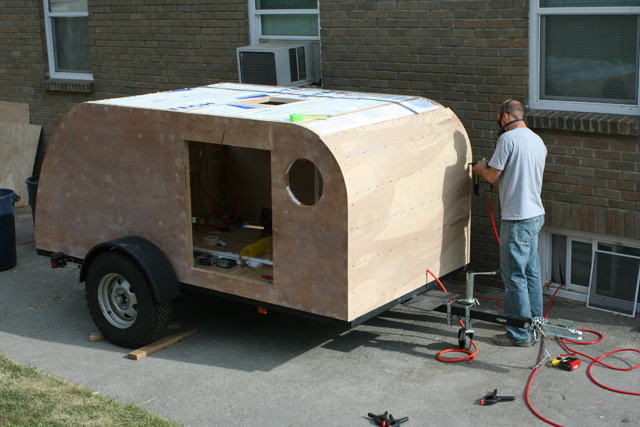
The official build effort for the teardrop trailer body inside has started. Much of the internal design was decided while constructing the basic shell of the jPod. This is the Teardrop Trailer BODY!
Electrical
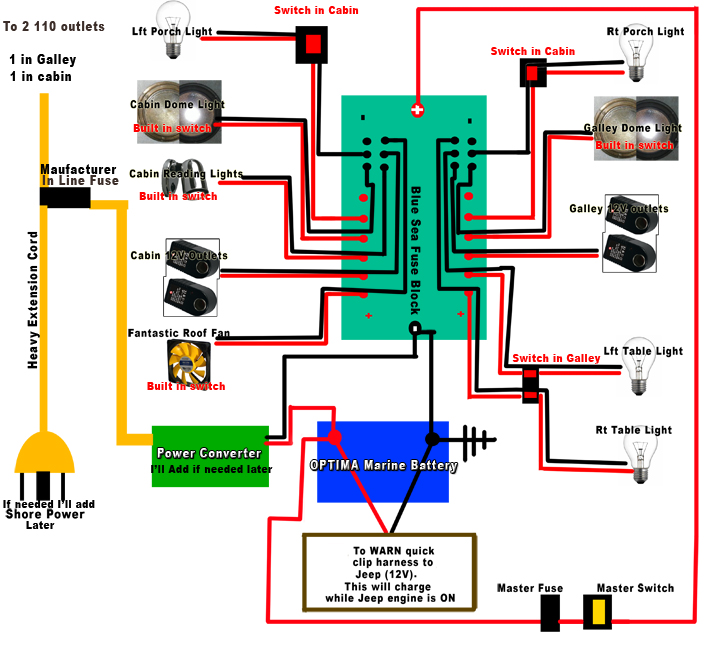
I have posted my electrical diagram (below). I tossed this out on the mikenchell forum for feedback and have received some helpful criticisms. I think it is pretty much done now. Senior Management and I decided we didn’t need the table lights so we won’t do those. Other builders are finding my diagram helpful so I’ll leave the table lights on my drawing in case they want to add that feature to their build. Our goal is to use as little energy as possible. All our lighting will be LED and the internal fan pulls very few amps. This means we can use a smaller battery (which will be lighter and create less waste) and we can charge it from the Jeep or a solar panel without difficulty.
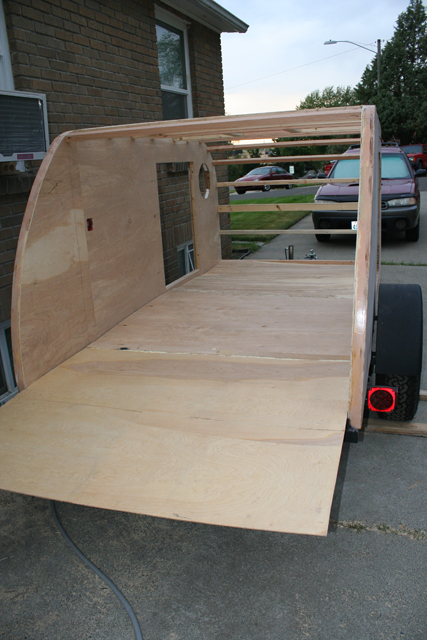
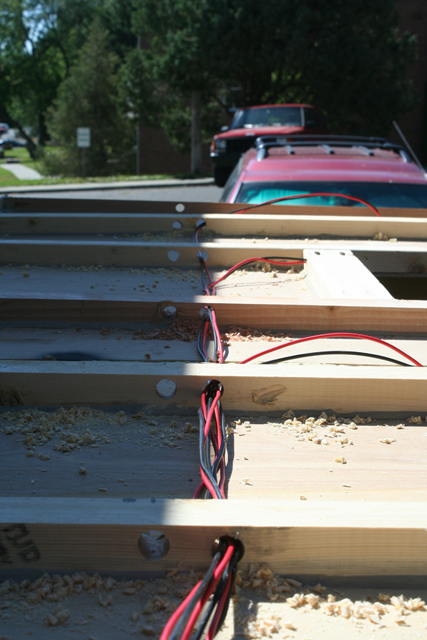
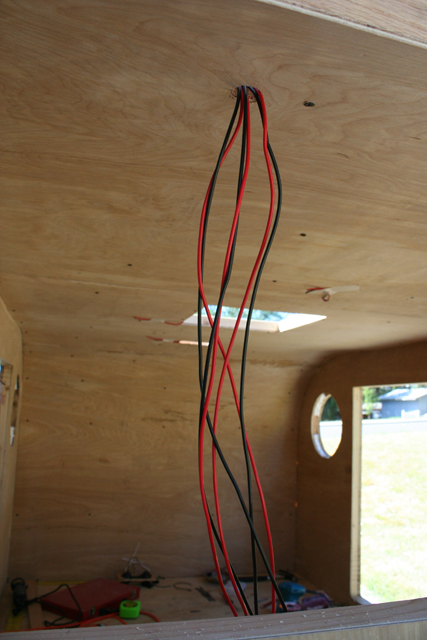
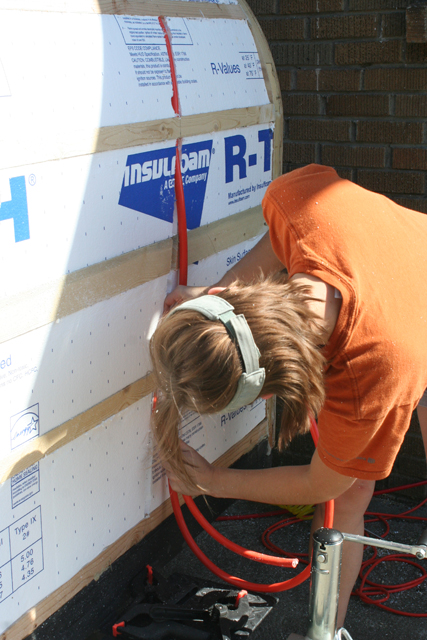
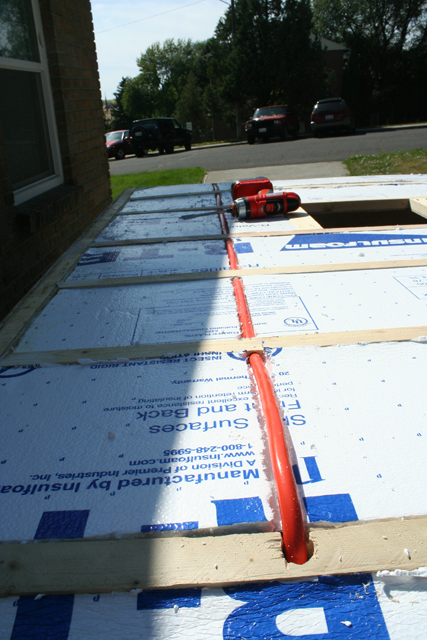
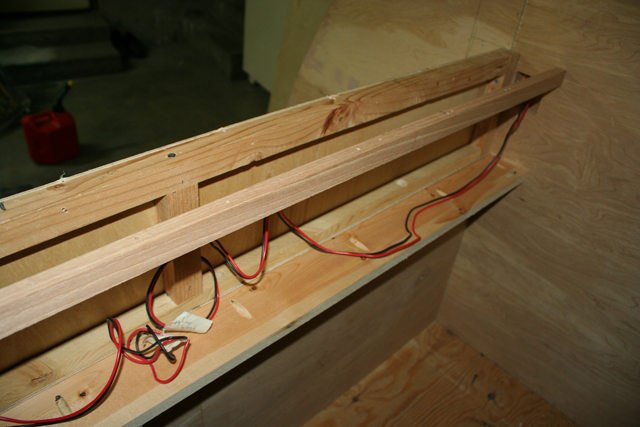
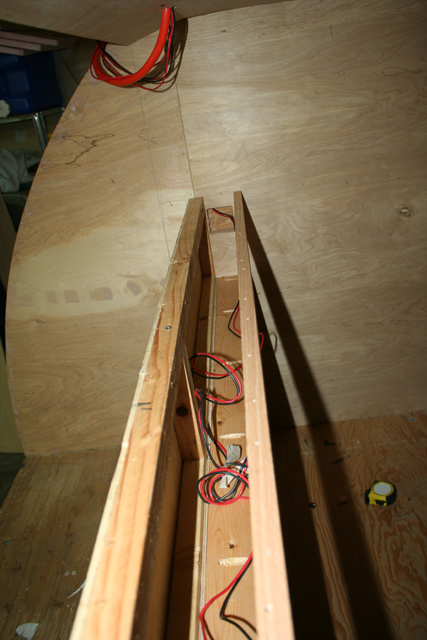
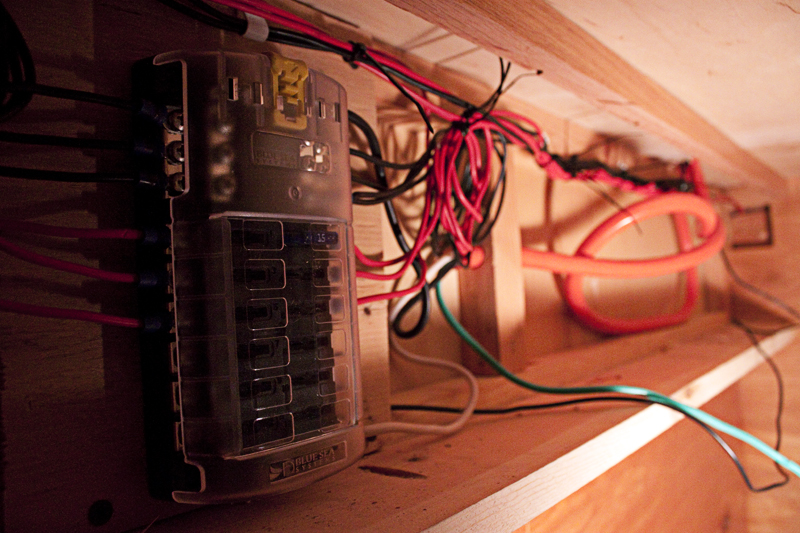
I chose to make two separate conduits for the electrical in the roof of the jPod. One will hold a heavy extension cord (12 gauge) which will connect the battery on the tongue to the electrical junction box in the cabin. The other holds all of the roof wiring for the cabin area. This creates more room, less rubbing on the wires, and would be easier to add more wires in the future without as much trouble. The wiring is all 14 – 16″ away from the left outside wall. We marked the luan roof so that we didn’t drive screws or staples through our wiring.
The Walls
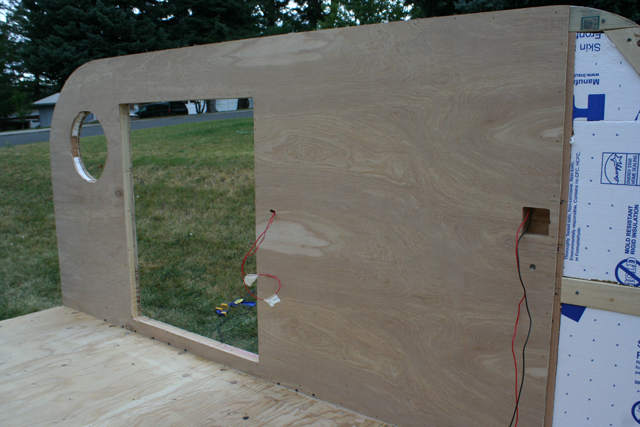
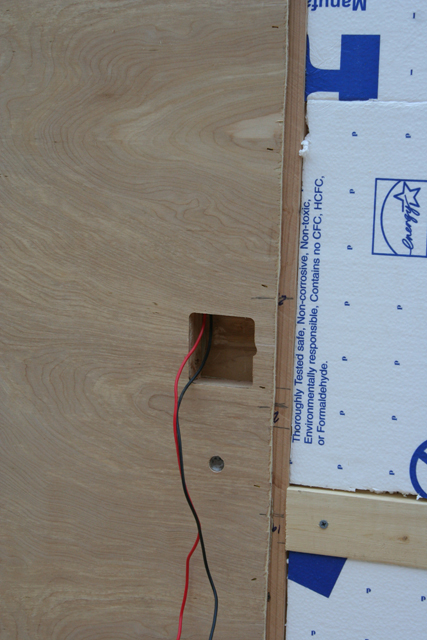
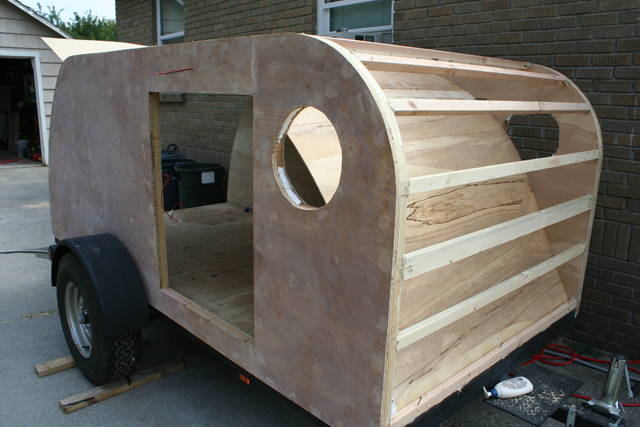
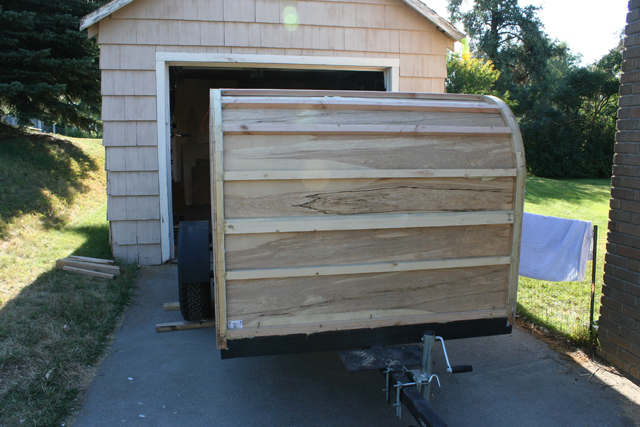
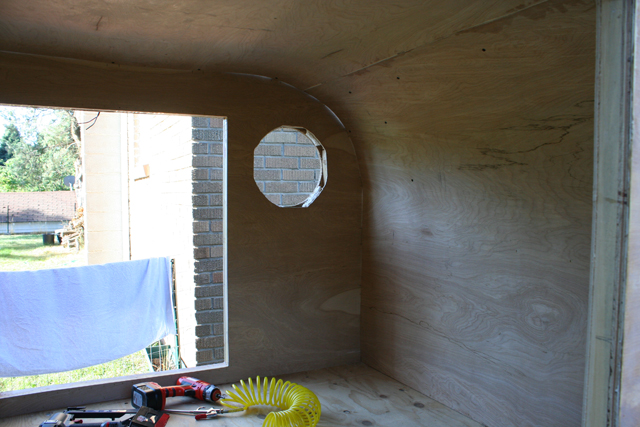
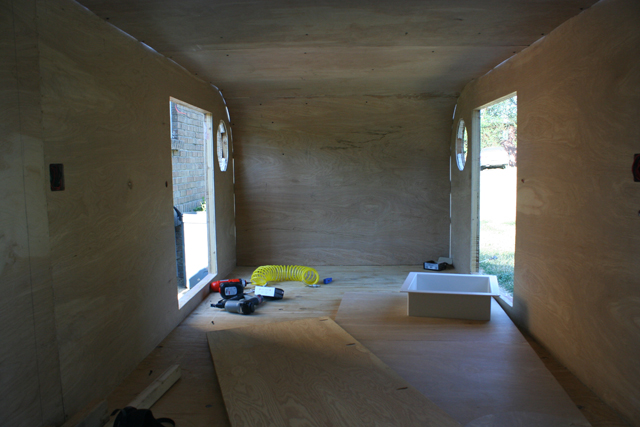
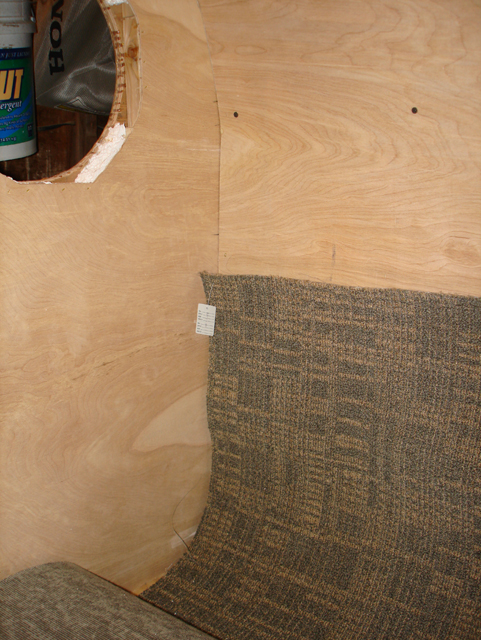
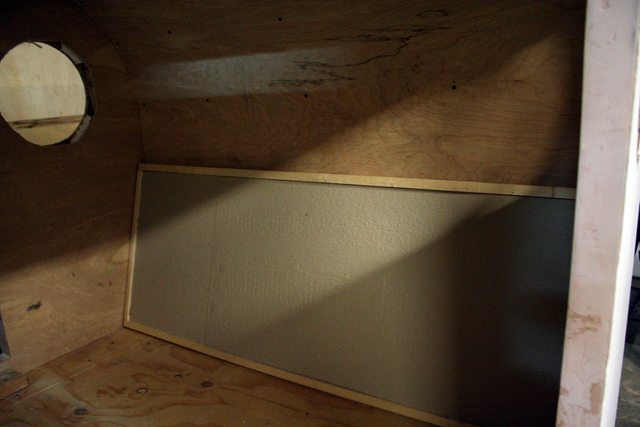
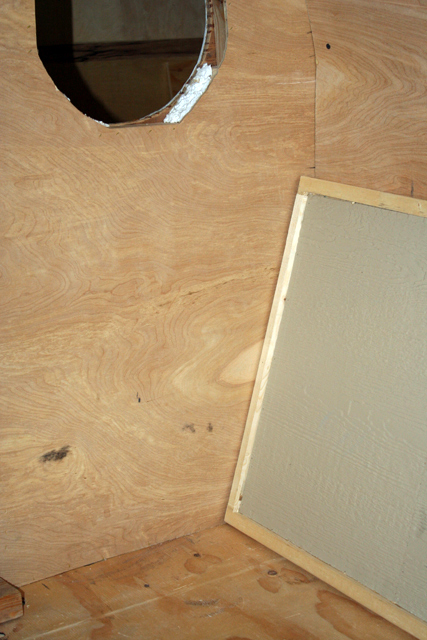
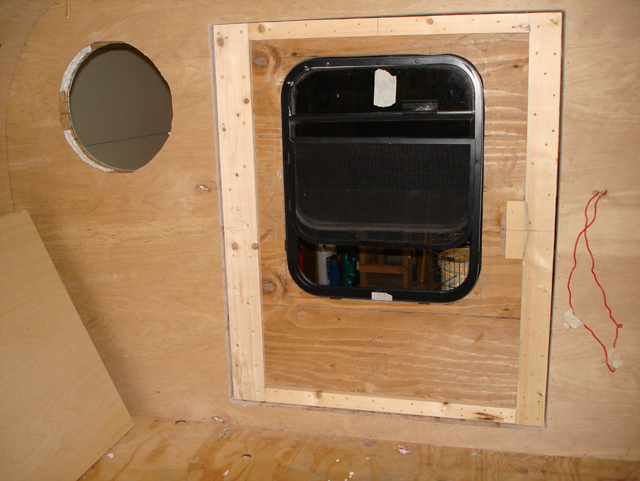
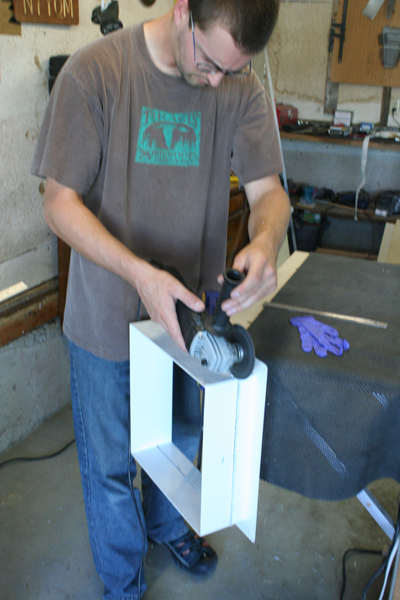
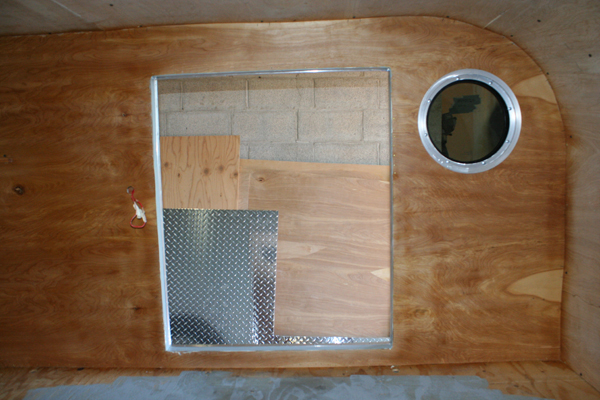
Senior Management and I chose to skin the walls before installing the ceiling. This would make it easier to match the internal profile of the ceiling on each wall. We wired and insulated the walls and then attached full sheets of birch plywood to the inside with glue and staples. Since we want a Helmsman’s Urethane natural finish on the walls, I only put staples in areas where there will be trim. Around the door and round window, along the floor and top. Once the sheet was attached, I cut the profile out with a flush bit in my router. I cut the door out the same way. Since the jPod is 10′ long and standard birch ply comes in 8′ lengths, we had to skin the galley separately. We are going to paint the galley so staples weren’t a big deal. We’ll fill the holes and paint over them. I had an “oopsy” by drilling a 5/8″ hole in the cabin skin which was too low. As it turned out, that hole ended up inside the electrical access cabinet. I might use the hole to run some wires into the galley area under the counter.
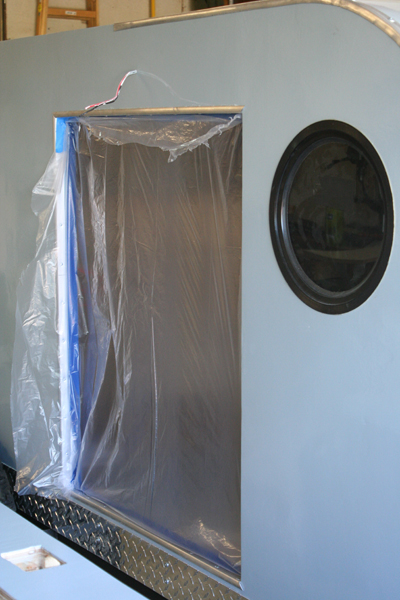
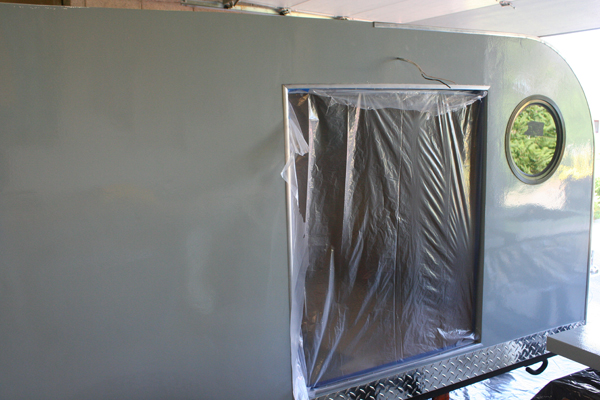
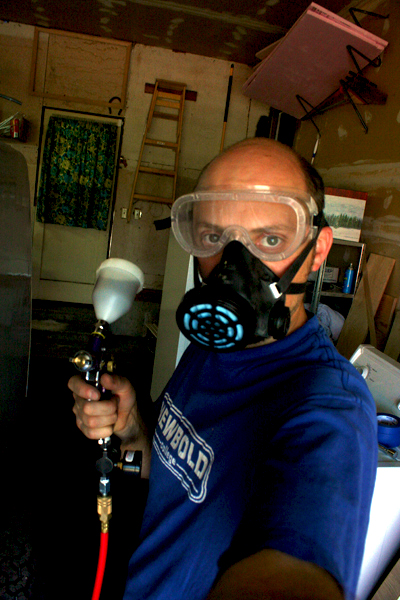
I finished the inside walls with Helmsman’s Urethane. I diluted it some and sprayed it in with a pneumatic paint gun. Two coats seemed to get the job done. I taped off the outside to prevent over-spray and then I sprayed the finish. When the inside of the trailer started to get the slightest fogged up, I jumped out of the trailer and blew the fumes out with a box fan from the galley area. I chose Helmsman’s because it is UV stable and wears well.
The Ceiling
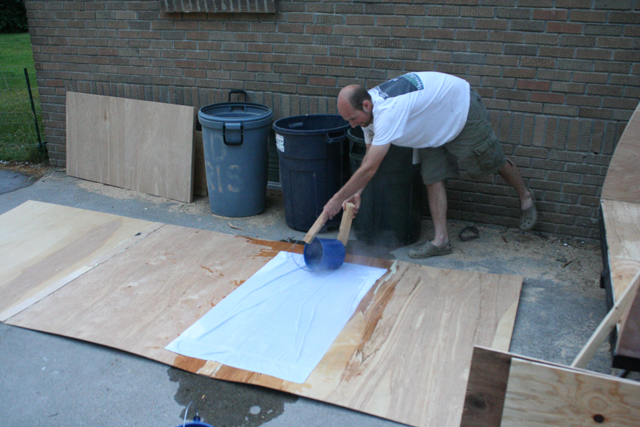
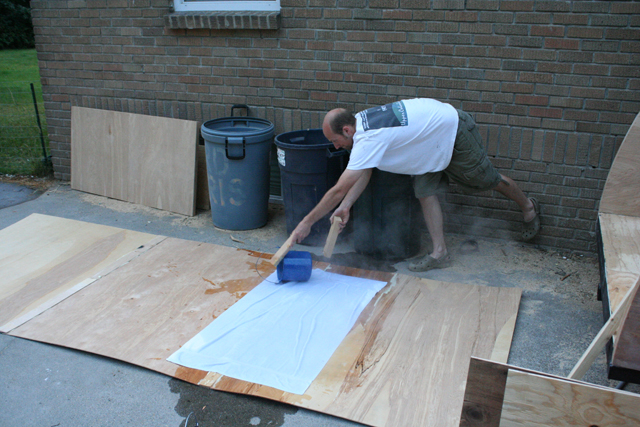
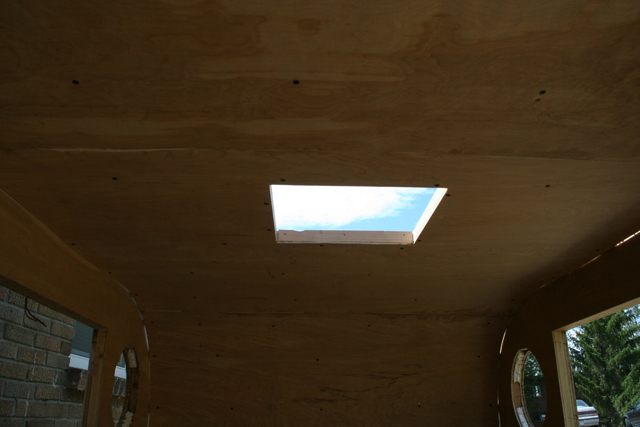
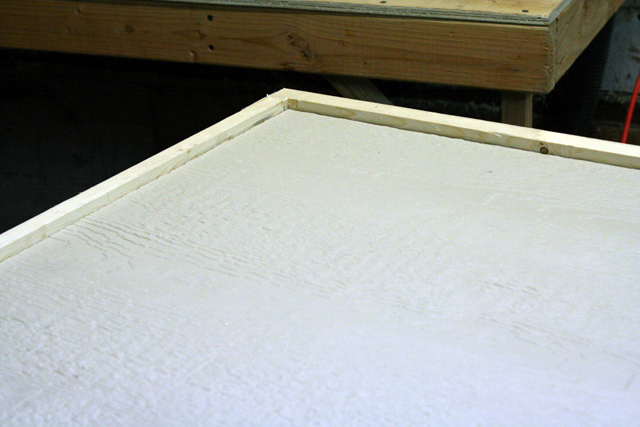
Skinning the internal ceiling is quite a process. It took us two attempts to get it right. I followed skinned on the inside (see Body:Internal) and ready for wiring & insulation Generic Benroy design -pg 38- and glued all of the pieces of luan together before attaching them to the roof spars. His description for how to bend the ceiling luan is a bit brief and I had to look elsewhere for help. Several people on the mikenchell forum indicated that they simply bent the luan and it went in without problems. We tried this first. We had problems and I broke the back of one of the sheets of luan. Out it came for another glue-up while I did some research. Finally, I decided a process.
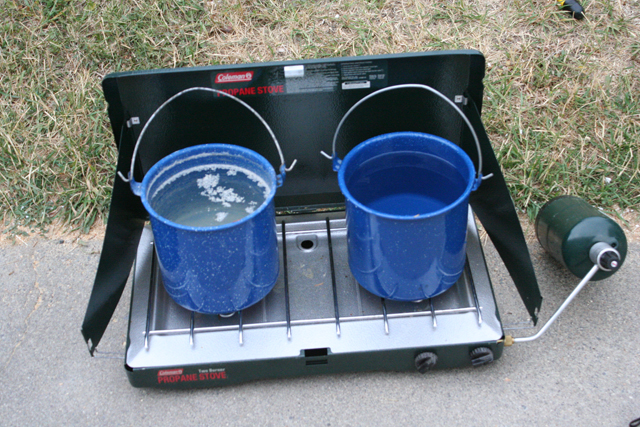
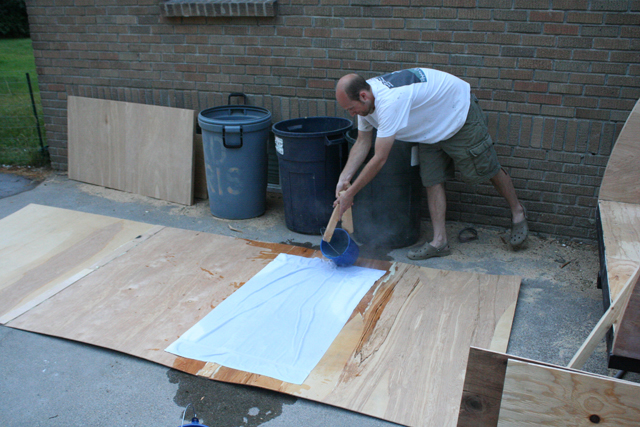
Boat builders use towels and boiling water to bend plywood. Several people on the forum mentioned this. I thought it was worth a try so out came the camp stove and two pots. To do this properly, I needed more than one towel but that was all Senior Management was comfortable using for this -and one was fine. I brought the two pots to a boil and then poured them over the part of the ceiling that we intended to bend. The towel held the hot water in that spot and allowed it to soak in the heat and water. The heat & water relaxed the glues in the plywood and softened the wood. Then we tried to put it in a second time. It went in easily. It bent like a noodle and was much easier to work with. Two neighbors stopped by to help us which turned out to be wonderful timing. Two people could do this process but a 12′ x 5′ piece of plywood above your head is a bit cumbersome. So their presence was very helpful. There are photos of this process at the bottom of this page.
Since we decided to carpet the ceiling with automotive carpet (see below), it wasn’t necessary to keep the ceiling free from unsightly holes. We glued and screwed the ceiling skin into the roof spars. Now we really get a feel for the inside of the jPod. It echo inside (pretty awesome).
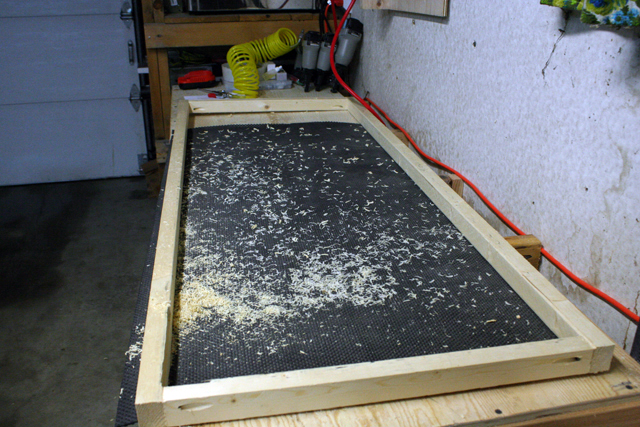
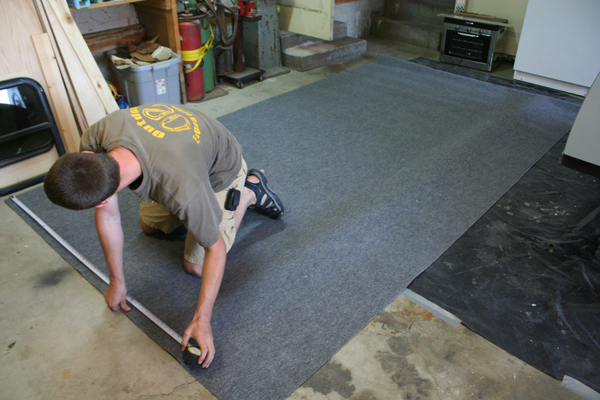
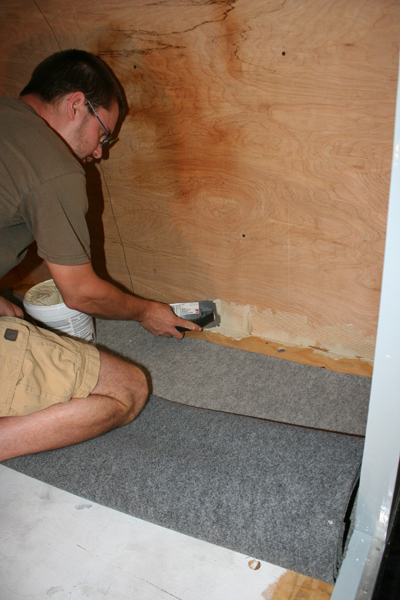
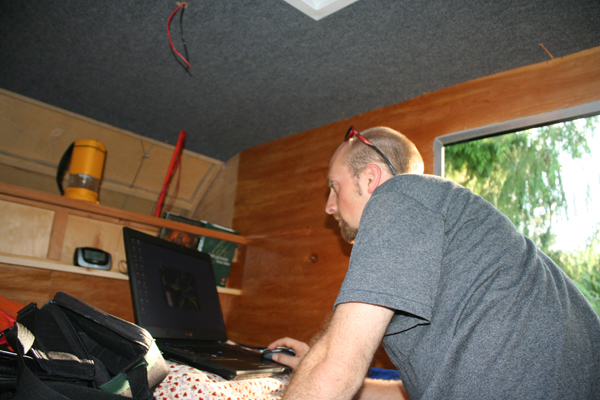
I completed all of the wiring & outside before carpeting the inside ceiling. I used a simple outdoor carpet with an internal (no fume) carpet adhesive. It is definitely a task for 2 people. Nathan helped me do this. We simply worked it from the front wall to the galley one spar at a time. At every spar, we pulled the carpet tight & pressed it into the adhesive. Then we tacked it up with staples from my pneumatic stapler. We ran the staples through some thin wood scraps so they would act as tack strips until the adhesive was completely cured. It looks really nice & tamed the echo. See pictures below.
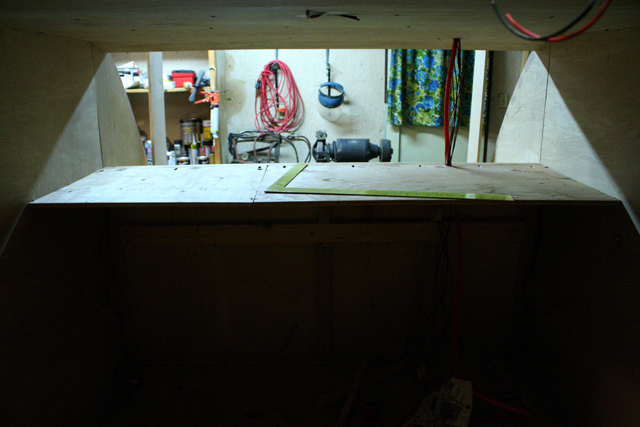
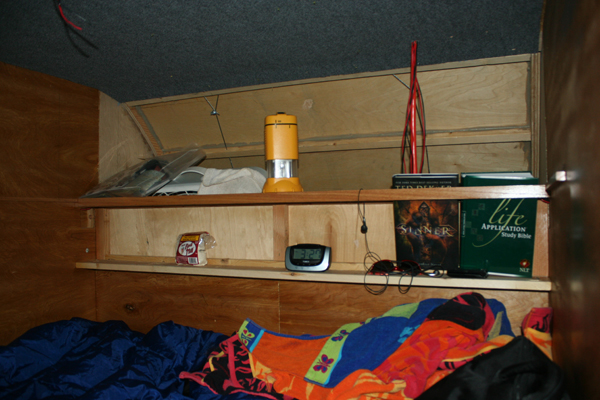
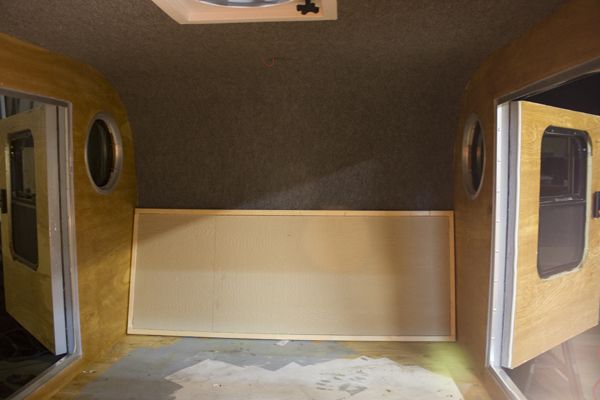
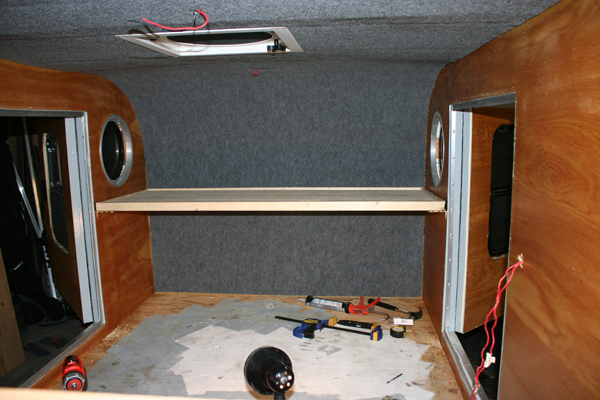
The Bunk/Shelf
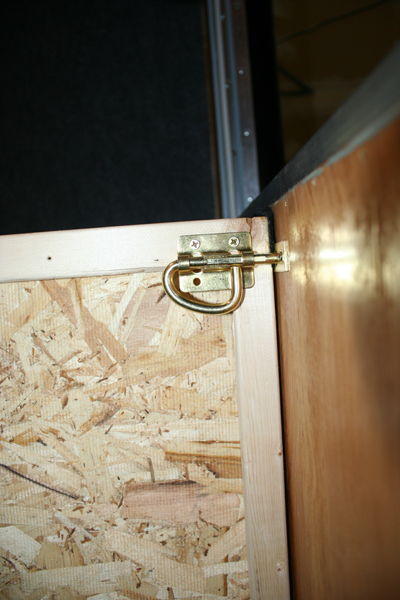
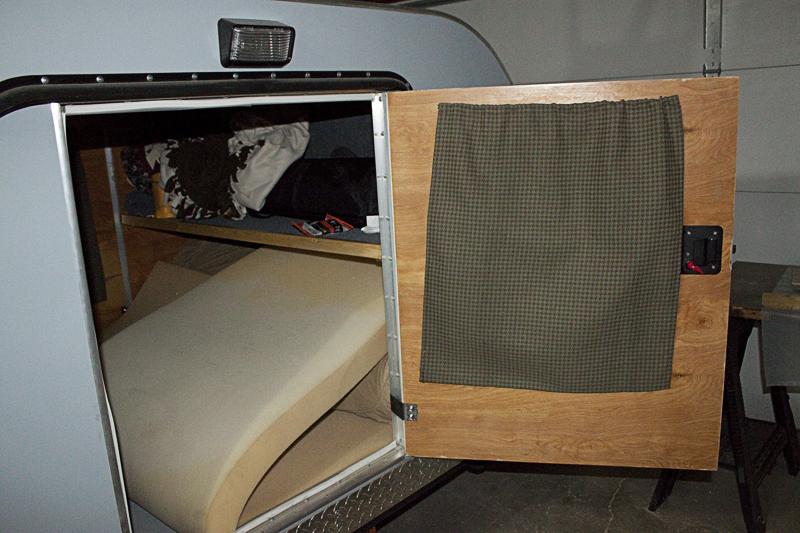
The very front of the cabin has a Shelf that hinges up and down. This will create more storage space and provide room for a short person (Senior Management thinks children) to sleep. I used a piano hinge to attach the shelf to the roof spar under the internal ceiling skin. Typical RV bunk latches keep it in place when in the upright position. When it is down, the shelf is too tall to fit flush against the front wall. This will provide an angled back to what could be a bench to sit on. Already, the angle is nice to sit against. I am happy with this design. I plan to cover the plywood with the same carpet as I put on the ceiling so that it is finished even when a child’s sleeping pad is removed & the bench is used as a shelf. See pictures below.
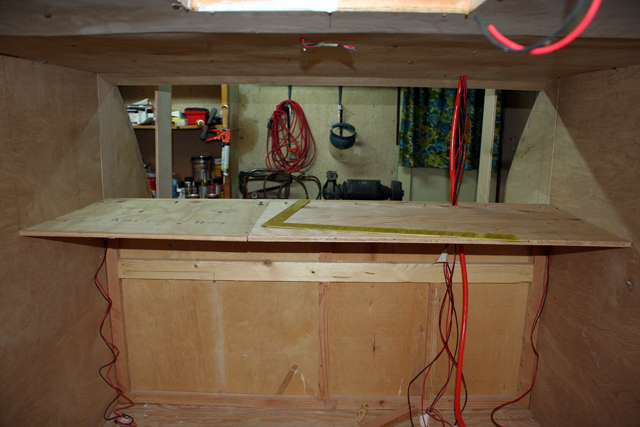
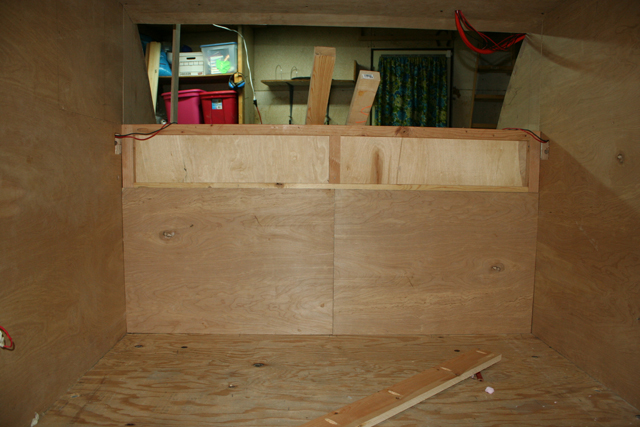
Storage
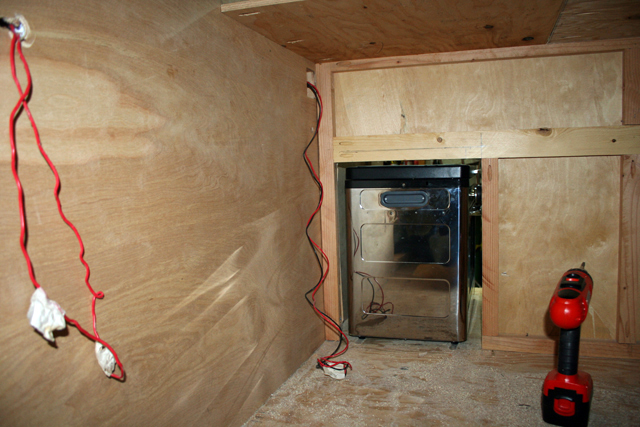
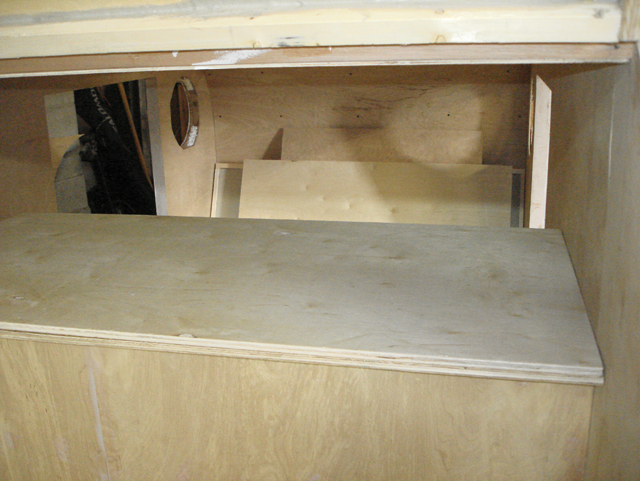
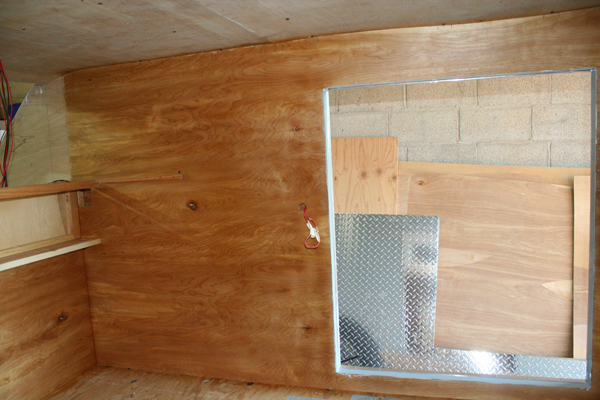
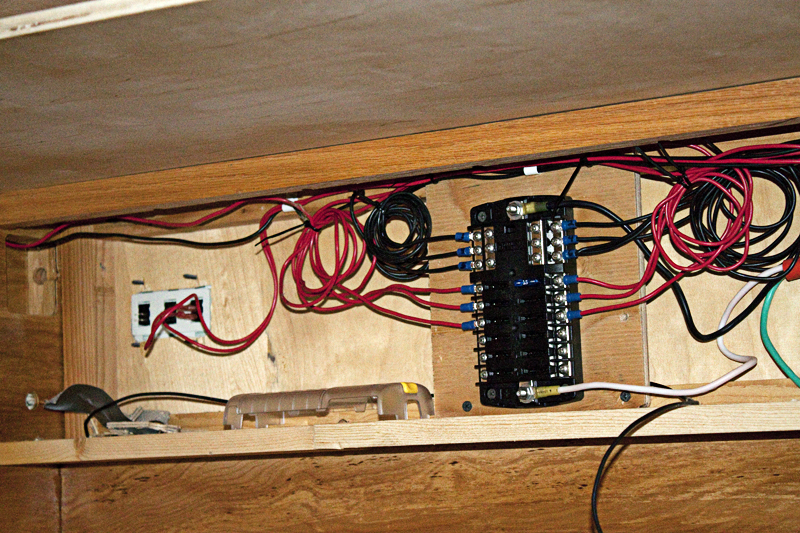
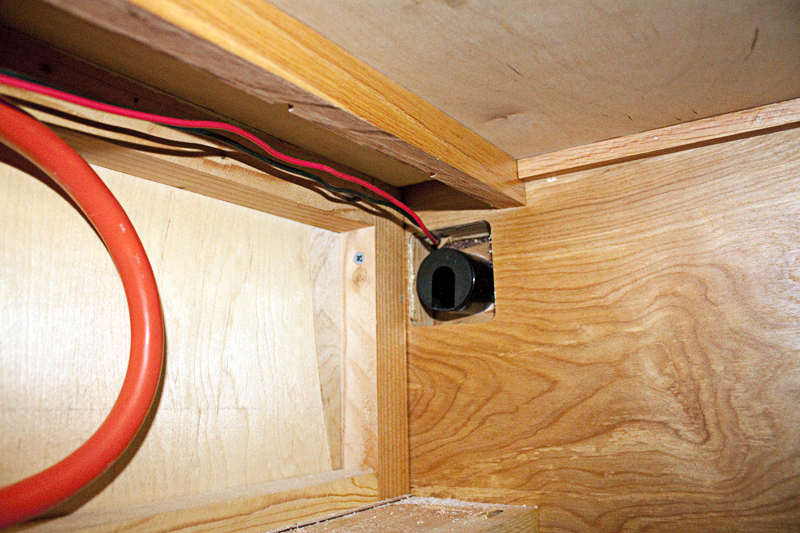
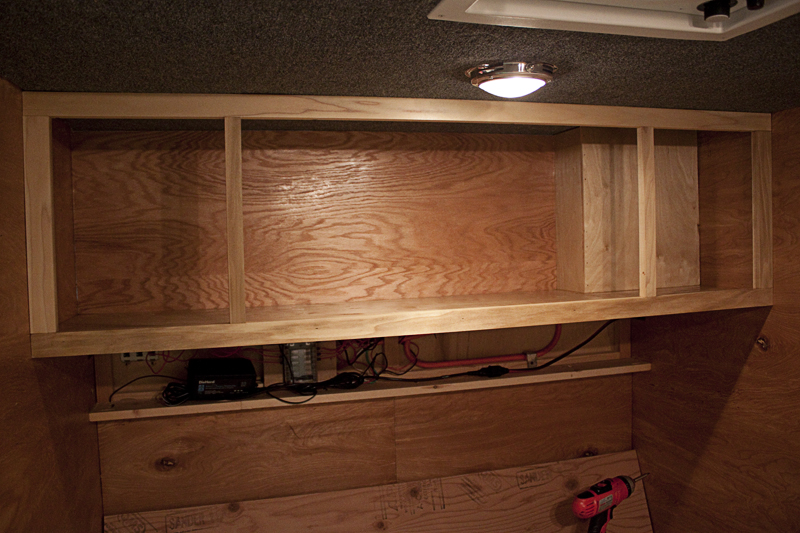
The bottom to the internal cabinets is installed. There will be three doors that will open into the cabinets (attached to the back of the galley cabinets). Under the main cabinets is the electrical access cabinet. In this small cabinet will be all of the electrical connections for the trailer. The entire back of the bulkhead between the galley and the cabin is skinned and insulated. This stopped quite a bit of noise in the cabin down some. The only area that the bulkhead is not insulated is where the camp chef oven will slide into the wall from the galley side. I chose to sink it into the wall to maximize space in both the galley & the cabin.
More Info:
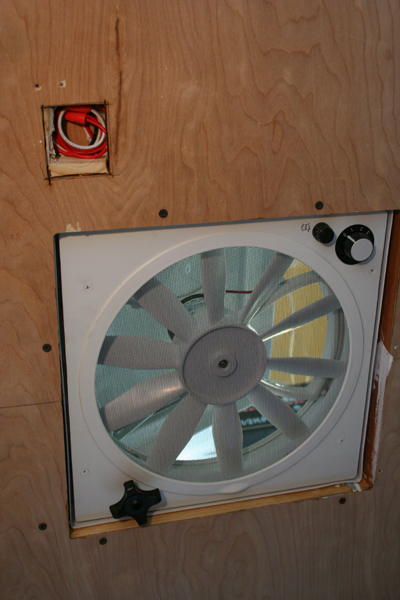
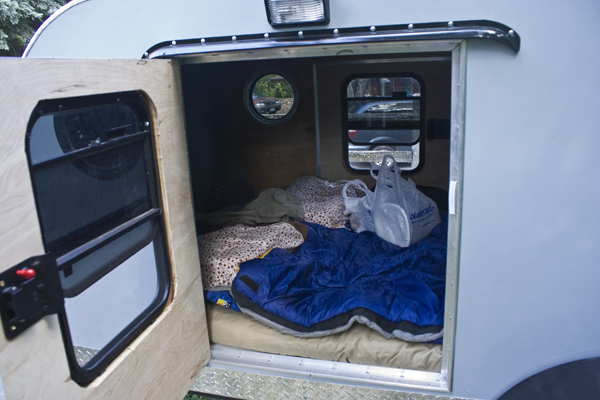
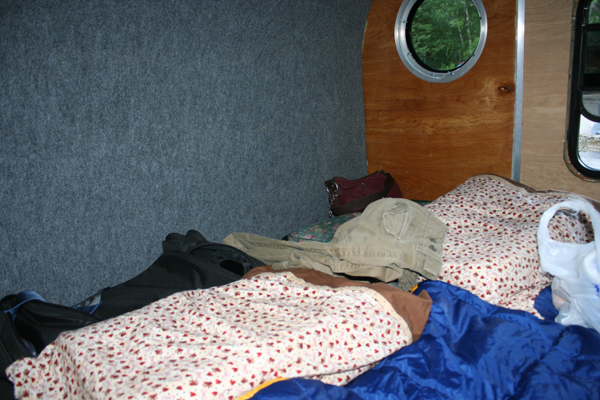
The teardrop trailer body interior has a queen sized memory foam mattress, storage for personal items, a bunk bed (which can fold down into a bench when not in use as beds), a moving shelf for a media system, reading lights, a dome light, and a fan-tastic 14″ vent.
Senior management is also coming up with some interior concepts for curtains and other necessities.